Photography Montages Using PowerPoint and Keynote, Enhanced with Photoshop.
In the digital era, our photos have become a canvas for creative expression, allowing us to weave narratives that encapsulate our cherished memories. But what if you could transform these images into dynamic montages, personally crafted and ready to be printed on a variety of surfaces?
This blog post will guide you through the process of creating photographic montages from your favourite images using PowerPoint on PC or Keynote on Mac, while incorporating the steps of image selection and manipulation for a truly personalised touch. To further enhance your creation, I will explain how to open your montage in Photoshop as a high-resolution image and save it to fully enjoy the patterns you have crafted.
I used this technique and others to make patterns for “My Terra” with the intention of printing them onto fabric and selling online. In the end this was not the way I crafted my patterns but I felt that as I had explored this option extensively I would share it with others.
Step 1: Select Your Images
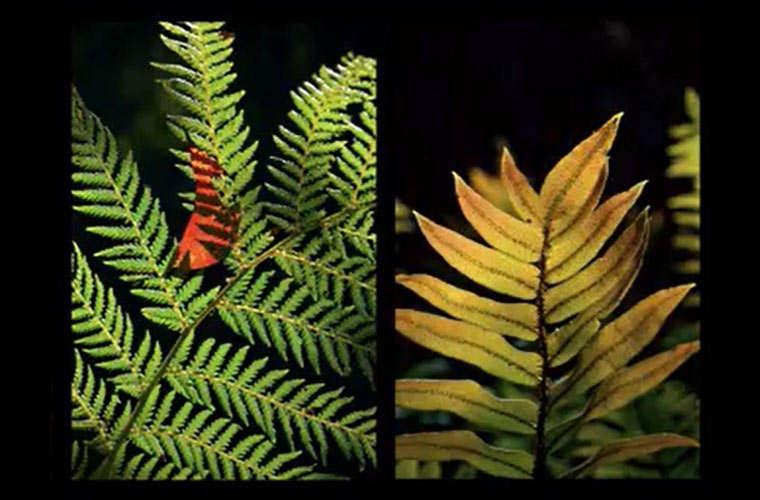
Begin by selecting two images that hold sentimental value or encapsulate a story you want to convey. Focus on specific segments within these images that grab your attention and will seamlessly meld together to form your montage. These focal points will become the building blocks of your design.
Step 2: Base
Launch PowerPoint or Keynote: Open your chosen application and create a new slide to serve as your montage canvas.
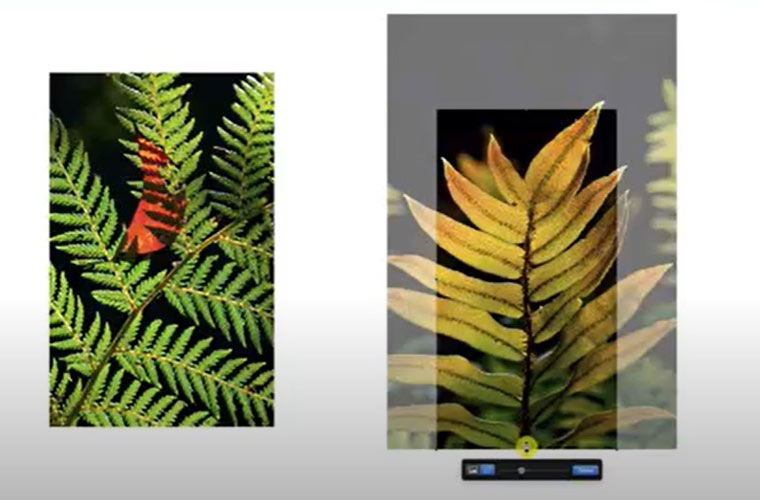
Import Your Images: Insert the two selected images onto the slide. These will form the foundation of your creation.
Crop Precise: Use the cropping tool to carefully eliminate any non-essential or soft parts from your selected segments. This step ensures that all components of your montage are sharp and impactful.
Step 3: Symmetry and Reflection
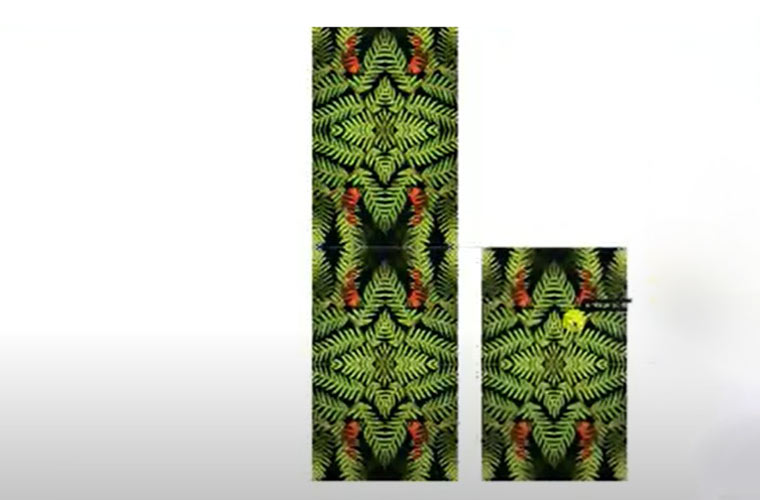
Duplicate and Reflect: Copy one of the images and flip it horizontally to create a mirrored reflection. This mirrored version will complement the original image.
Create Pairs: Duplicate both the original and mirrored images, and place them adjacent to the initial pair. This arrangement starts to form a captivating pattern.
Arrangement and Grouping: Select all four images and group them together. This preserves the arrangement and allows you to manipulate the group as a single entity.
Locking the Pattern: Lock the grouped images to prevent unintentional shifts. This consolidation of elements forms a cohesive section of your montage.
Step 4: Expanding the Design
Repeat the Pattern: Duplicate and arrange the section you’ve just created to establish a repeating pattern across your canvas.
Create Larger Groups: Select these patterned sections and group them together, refining the structure of your montage. This stage marks a significant step towards the completion of your design.
Step 5: Incorporating the Second Image
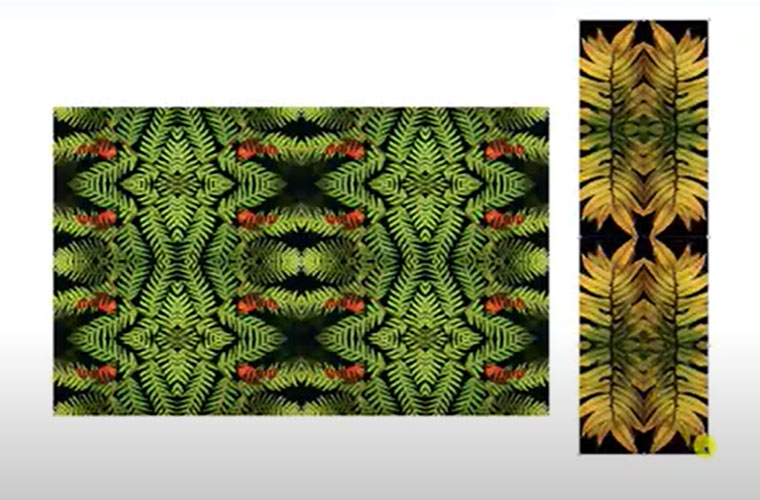
Save or Enhance: You can choose to finalise your montage at this stage or take your second image and apply similar techniques to enhance your design further. If you choose to save your montage as it, go to step 6.
Copy, Paste, and Group: Insert your second image and copy its interesting sections. Paste these segments into various areas of your montage, creating an intriguing blend of stories.
Construct Patterns: Group the pasted sections and arrange them in patterns, adding depth and complexity to your montage.
Step 6: Save and Open in Photoshop
Saving Your Montage: Once you’re satisfied with your masterpiece, save your work as a presentation file for later use.
Opening in Photoshop: To fully appreciate and enhance your montage, open the saved presentation file in Adobe Photoshop, if you don’t have this program any photo editing program will work.
High-Resolution Enhancement: In Photoshop, adjust the canvas size and resolution to match your intended print size. Enhance colors, contrast, and sharpness to elevate the visual impact of your montage.
Step 7: Save and Enjoy
Final Touches: Apply any final touches or adjustments in Photoshop to ensure your montage is a stunning work of art.
Save Your High-Res Masterpiece: Save your enhanced montage as a high-resolution image in a suitable format (such as JPEG or PNG). This image is now ready to be printed and enjoyed on a range of items, from shirts to homewares.
Creating a photography montage using PowerPoint on a PC or Keynote on a Mac offers a realm of artistic possibilities. By selecting interesting portions of images, arranging them symmetrically, and expanding their presence, you can craft a visual narrative that resonates with your memories and emotions. Incorporating Adobe Photoshop into the process further enhances the quality and depth of your creation, allowing you to fine-tune colors and details. The step-by-step process detailed in this blog post equips you with the tools to transform simple images into breathtaking montages, ready to be printed on a variety of mediums. Dive into the world of creative expression, open your masterpiece in Photoshop, and let your photographs tell a story beyond the frames.
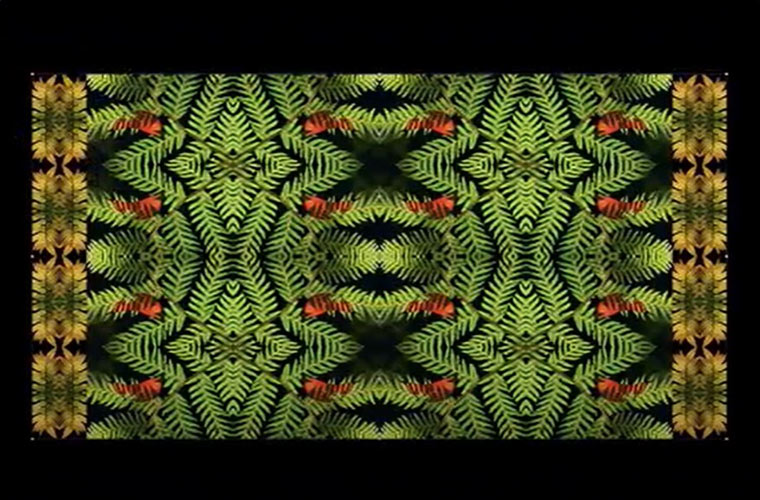
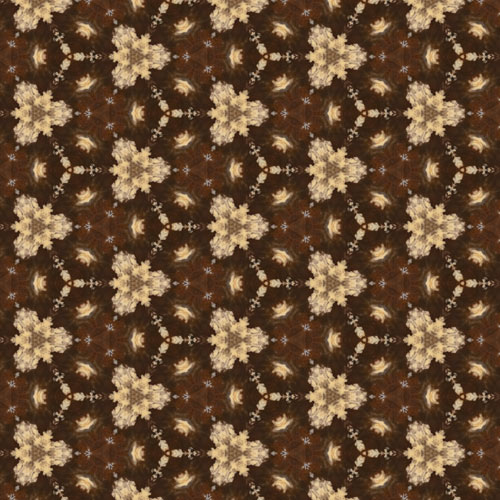
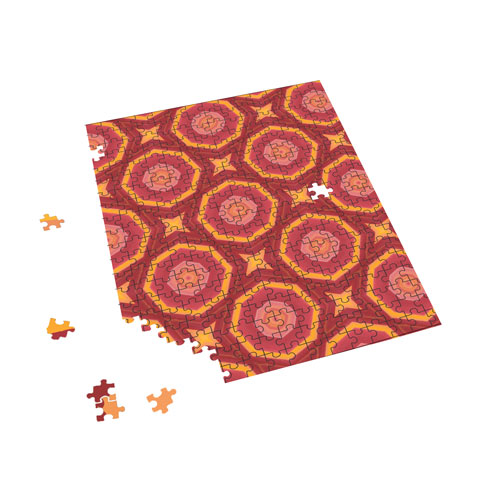
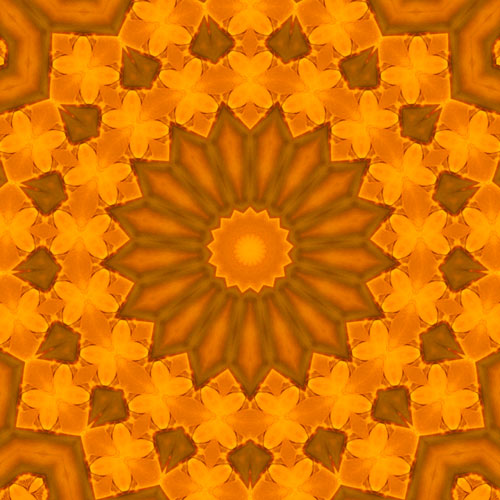
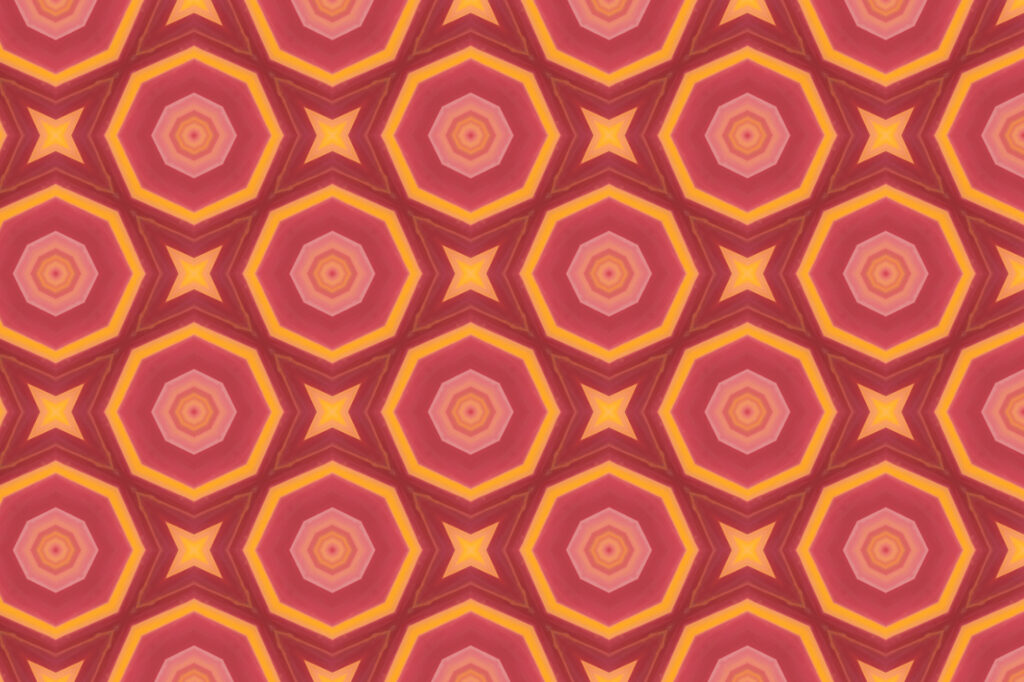
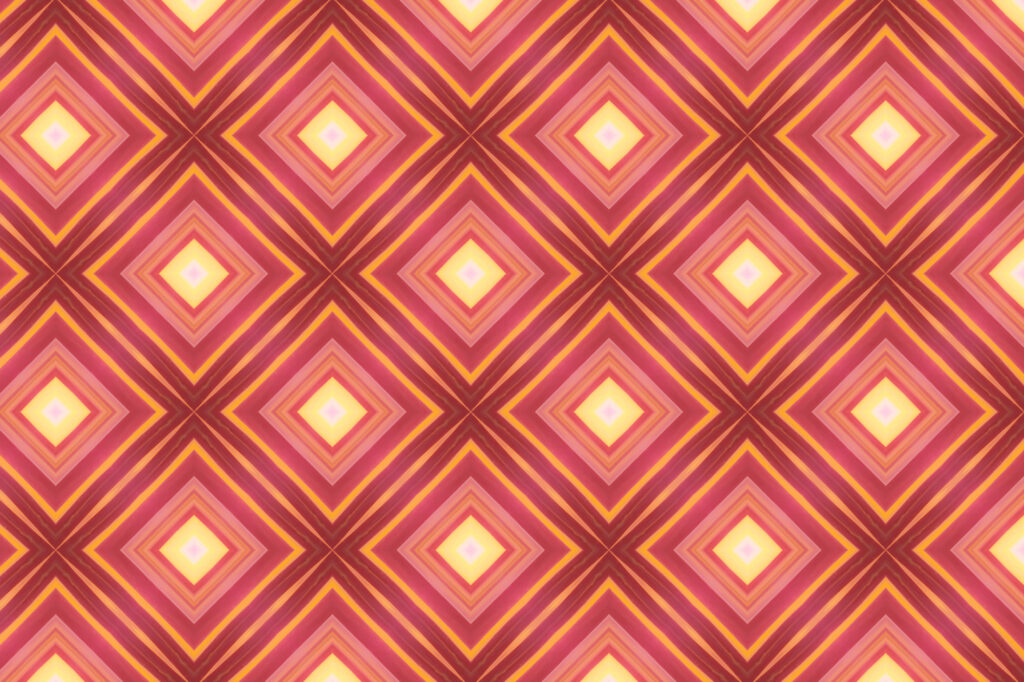
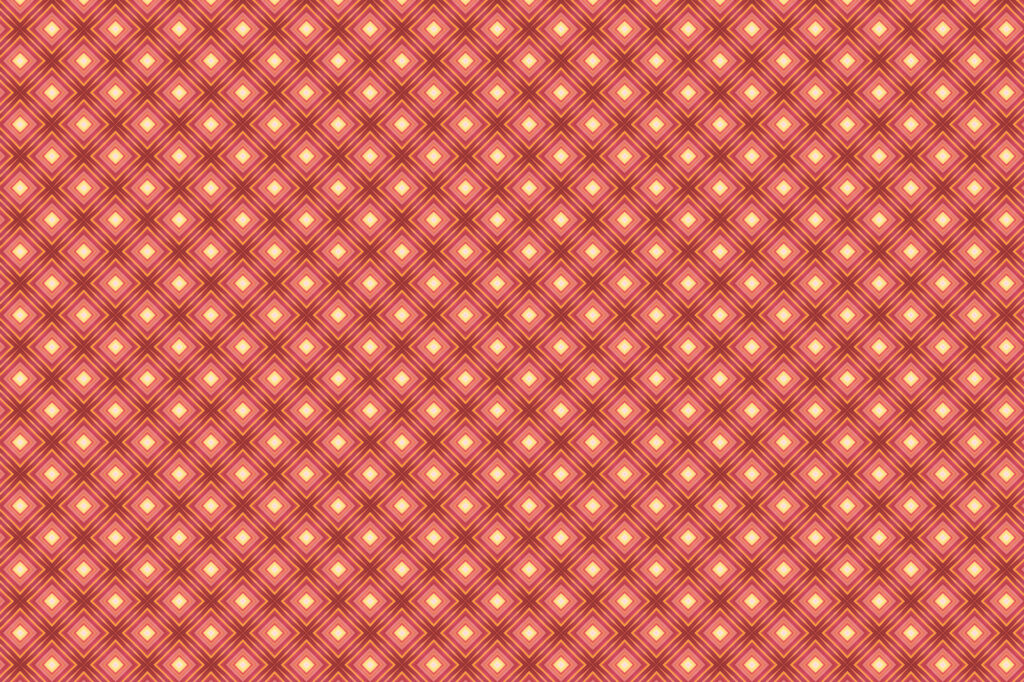
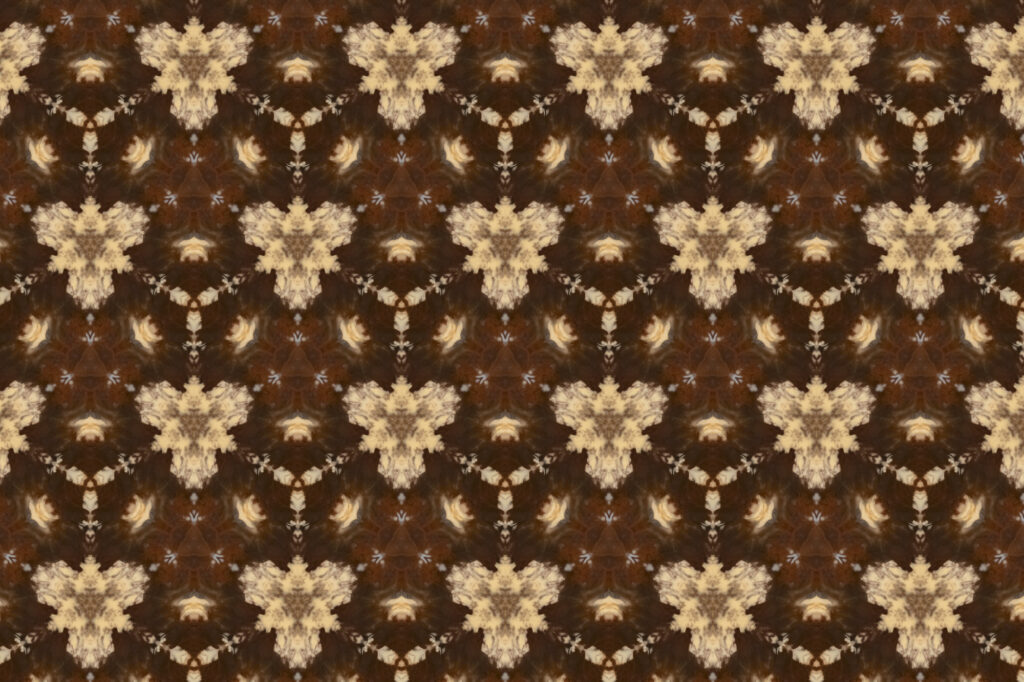
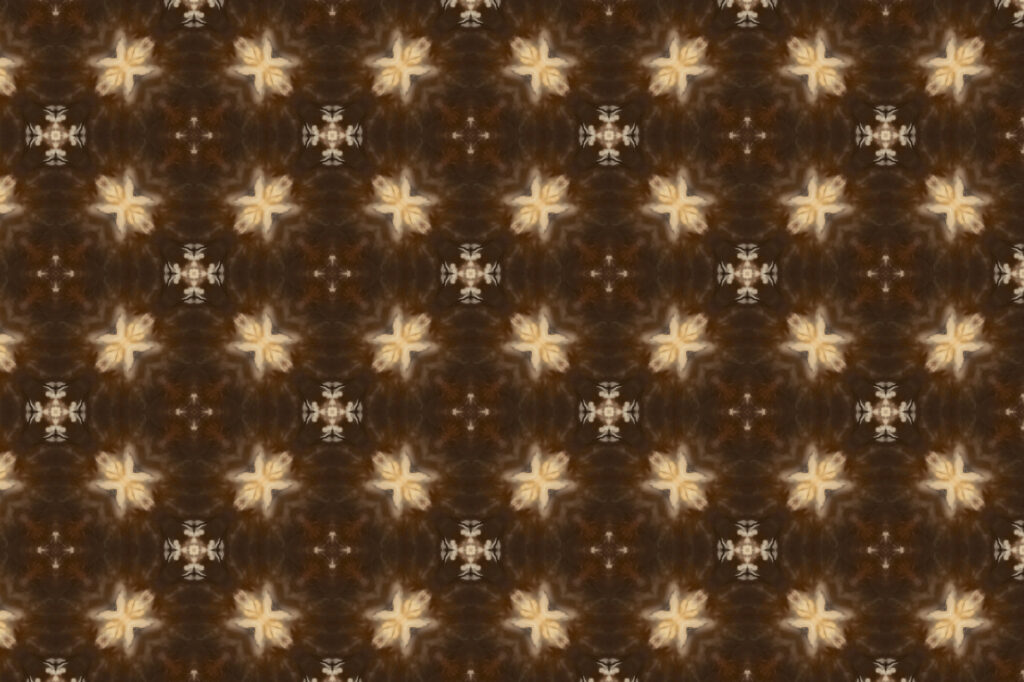
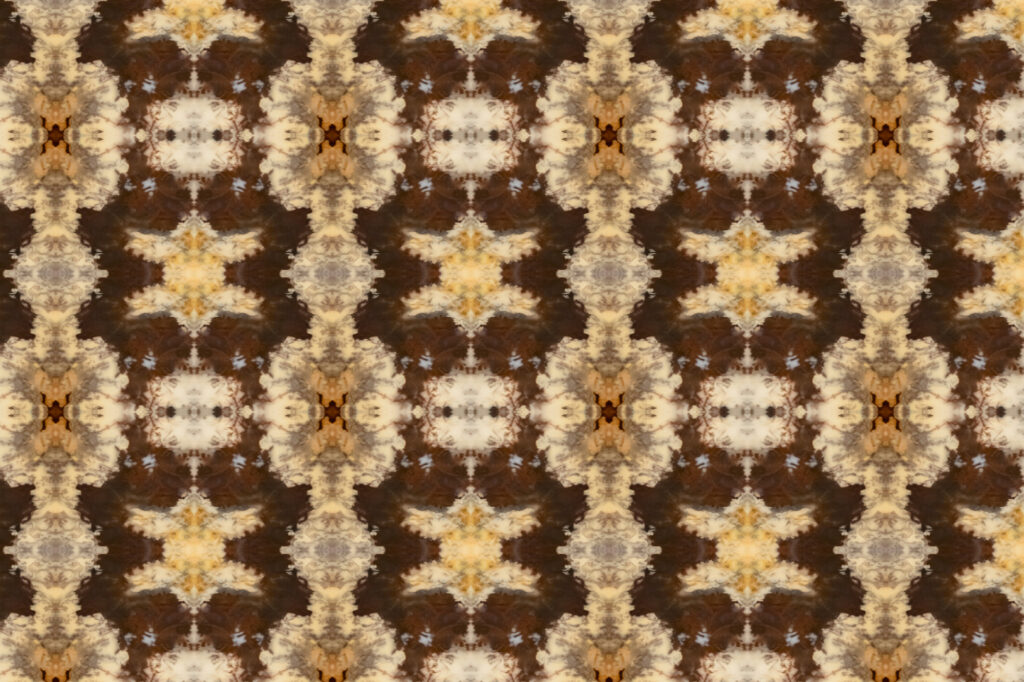
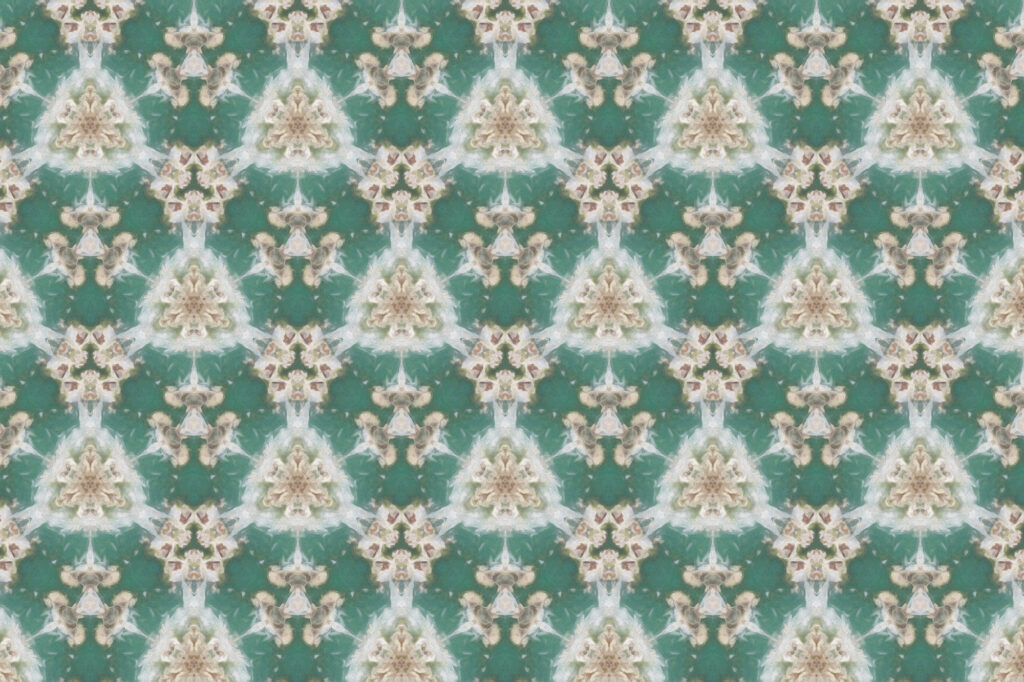
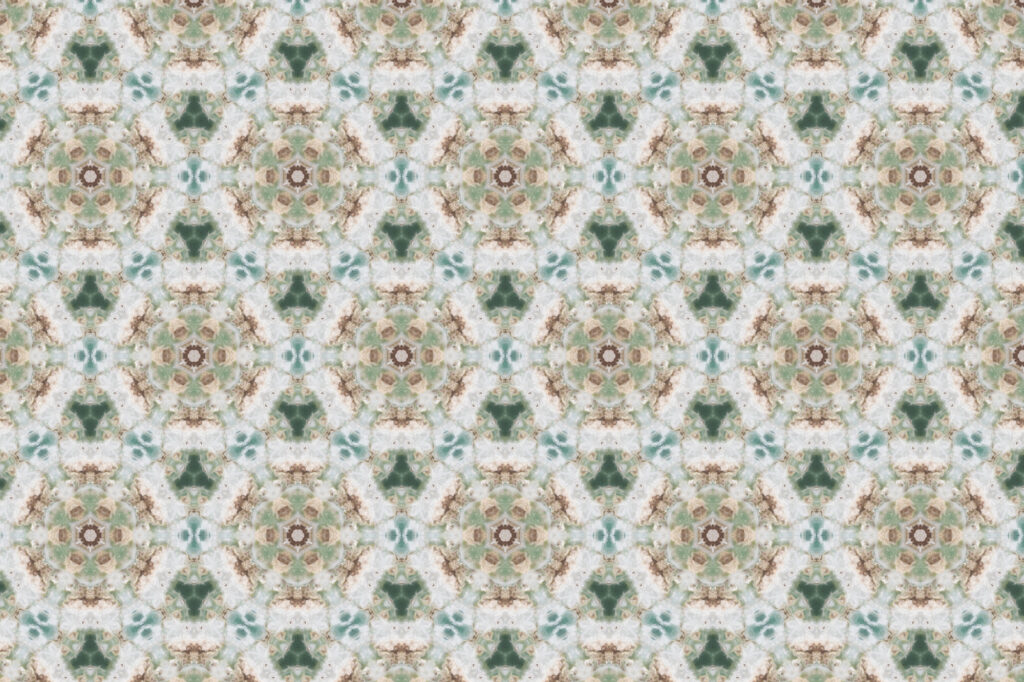
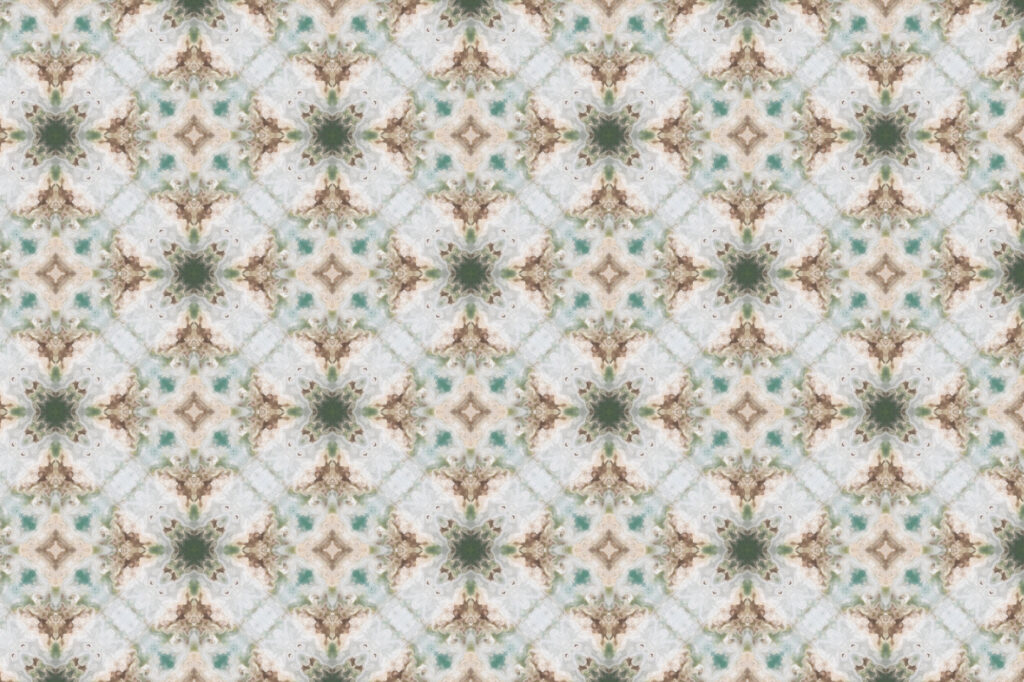
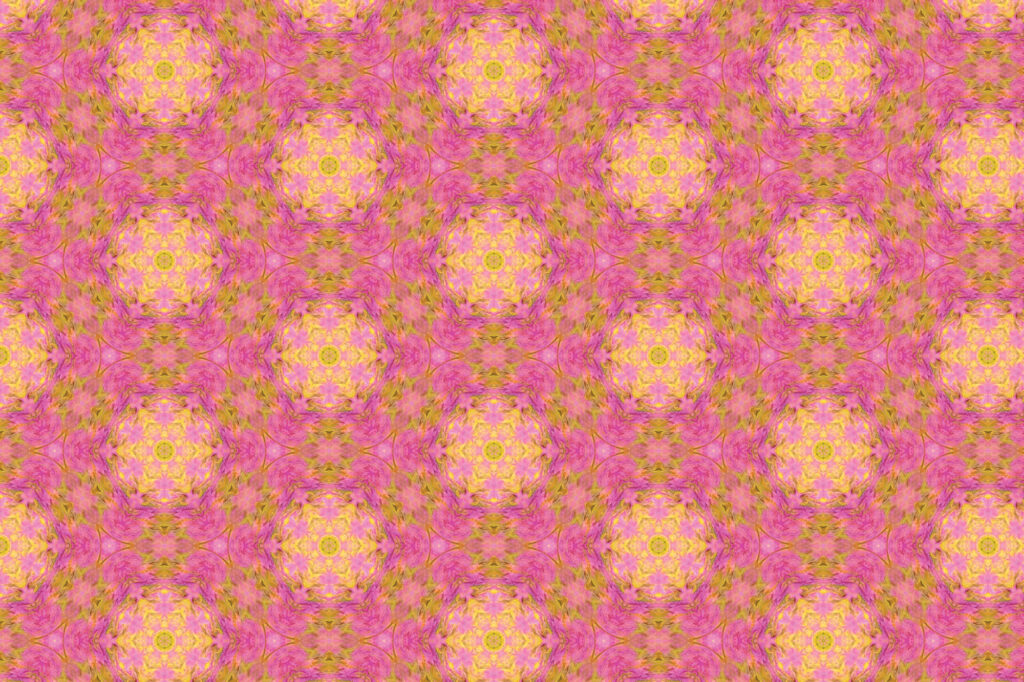
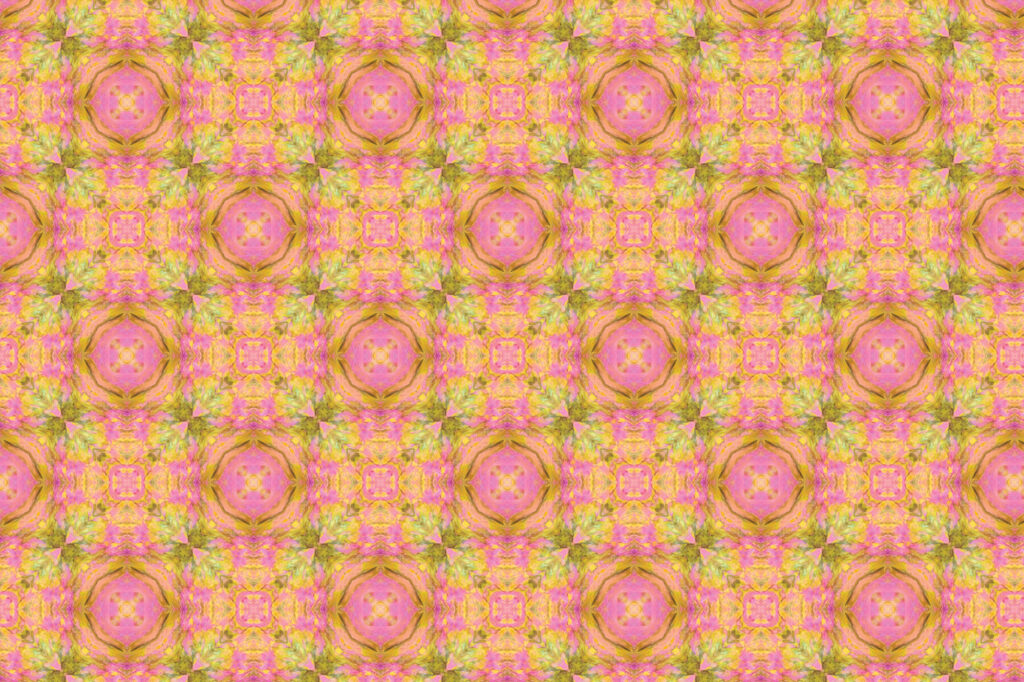
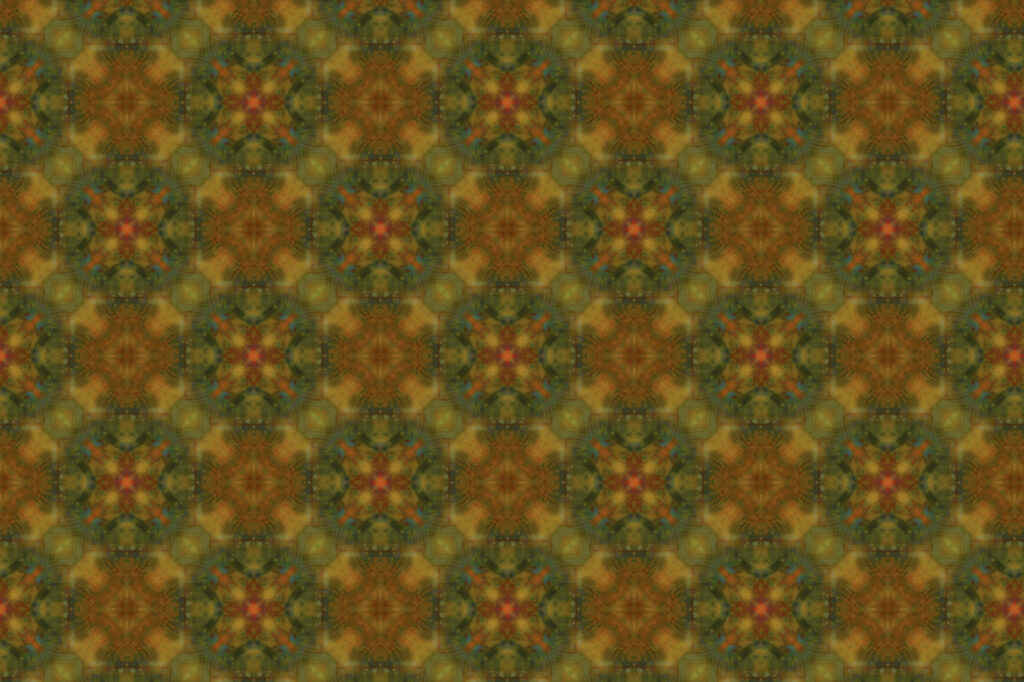
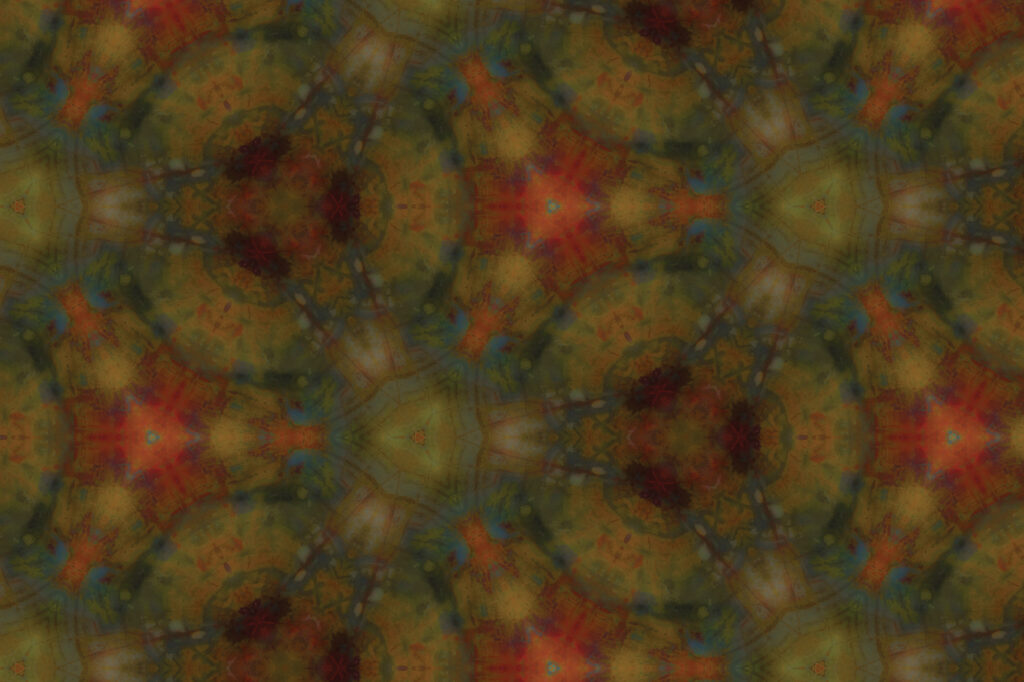
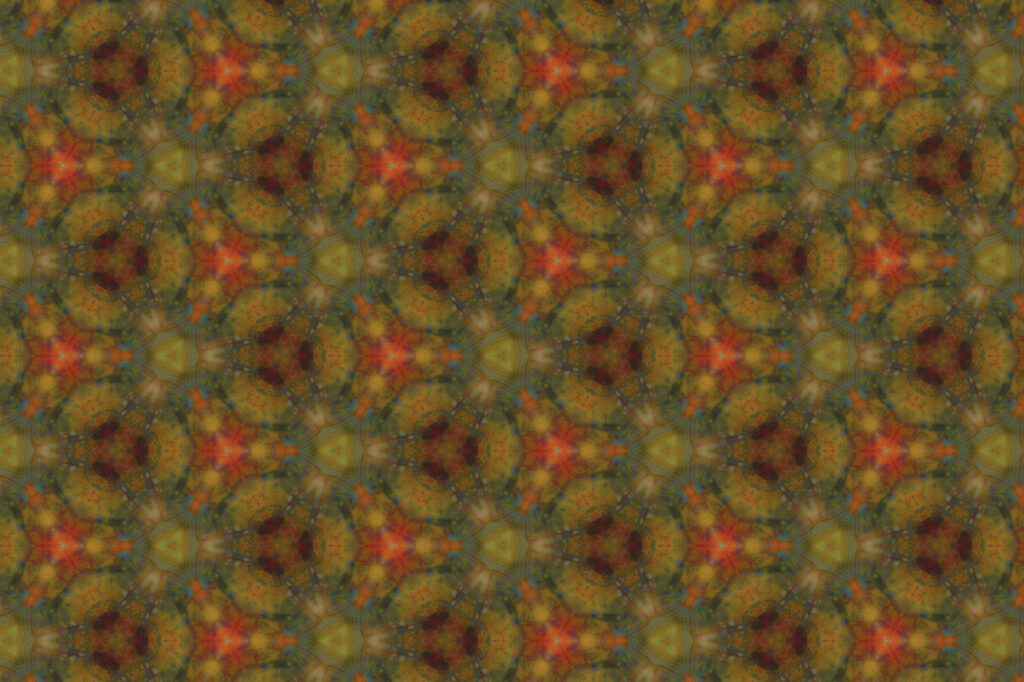
All images above – Images are screen shots or actually images of patterns completed during my pattern research for “My Terra”.
PROFESSIONAL EXPERIENCE
While considering options for creating patterns, I embarked on a journey to explore this creative avenue. However, I soon realised that this approach did not align with my preferred method of pattern creation, which I find more effective within Photoshop. I intend to delve into this process in a separate blog post in the near future, sharing insights and techniques for pattern creation using Photoshop.
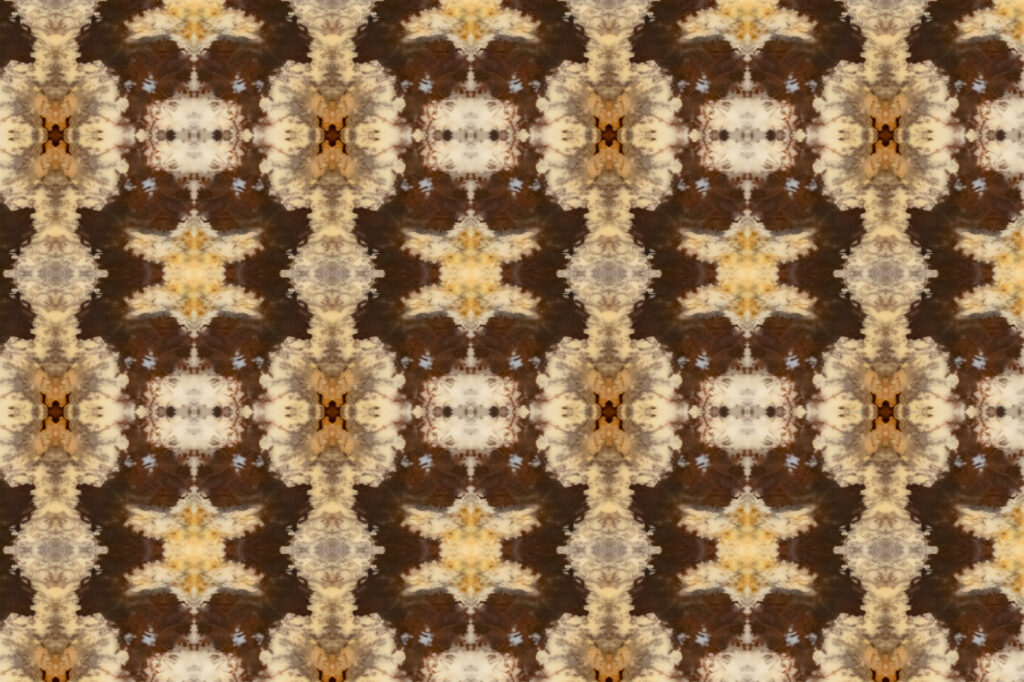
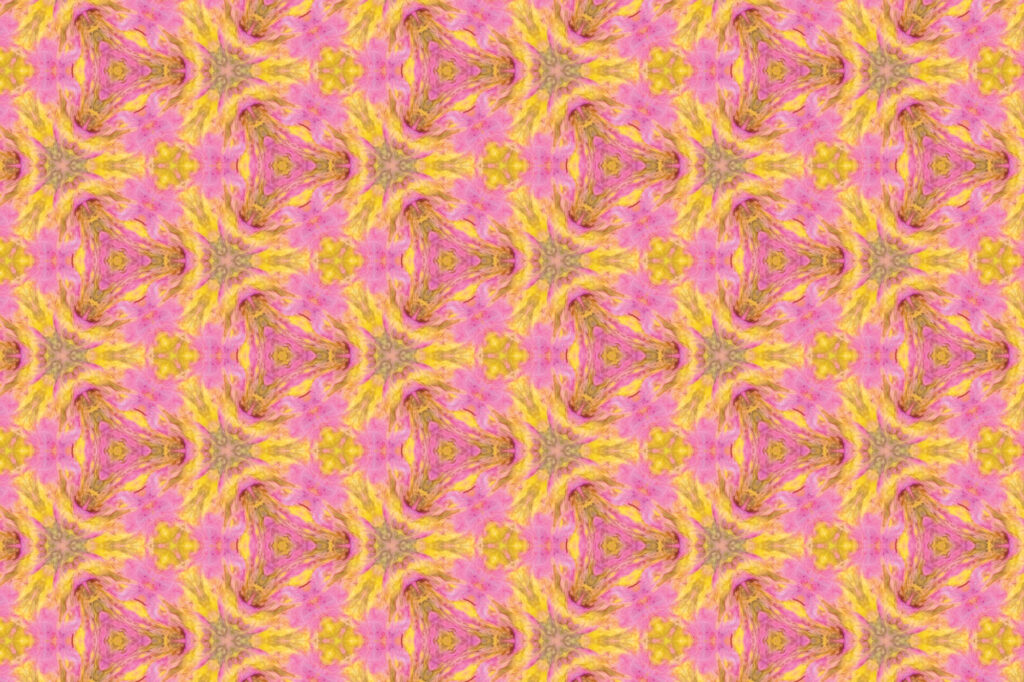
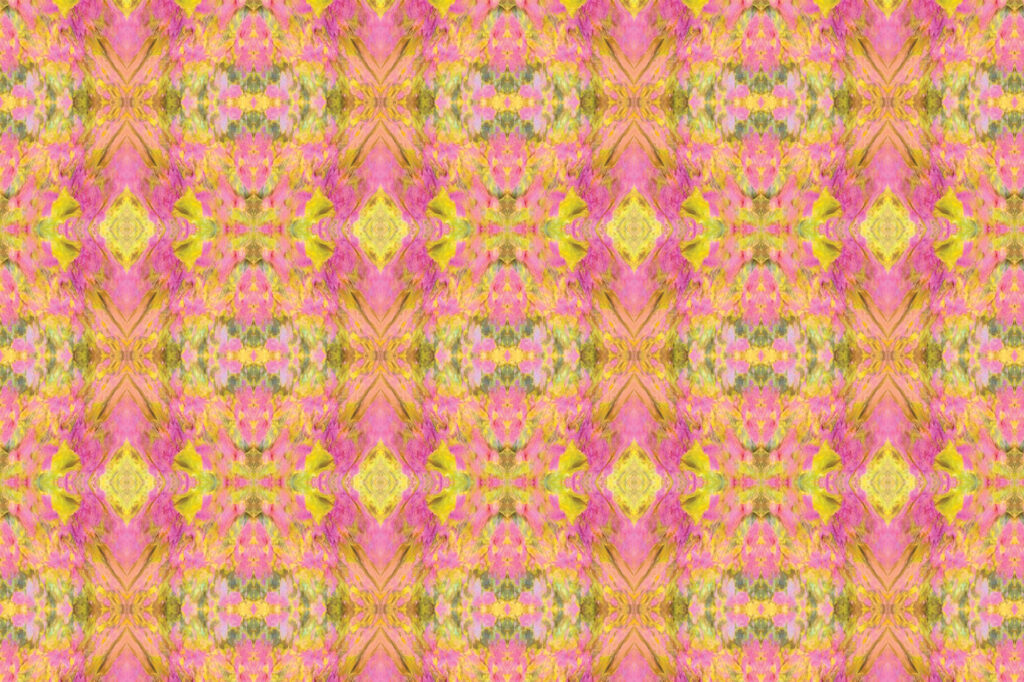
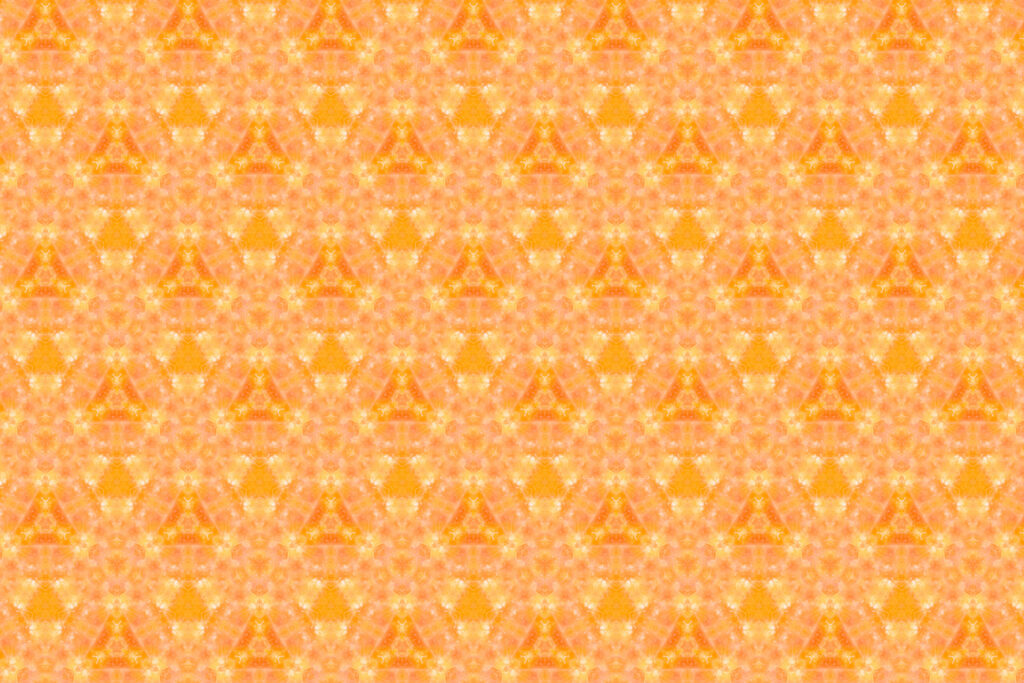
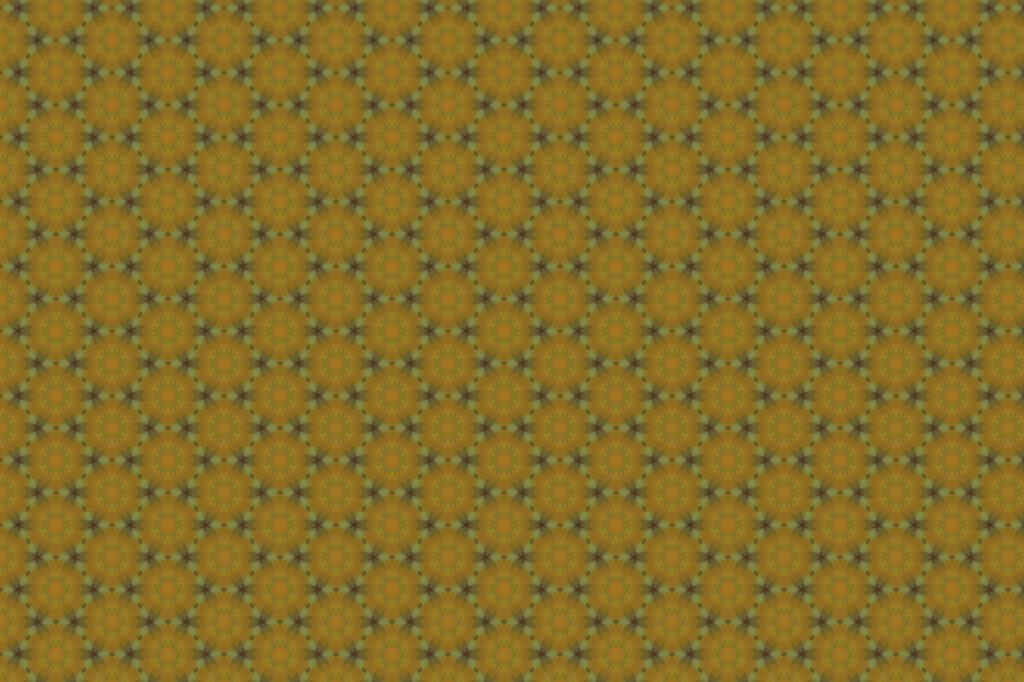
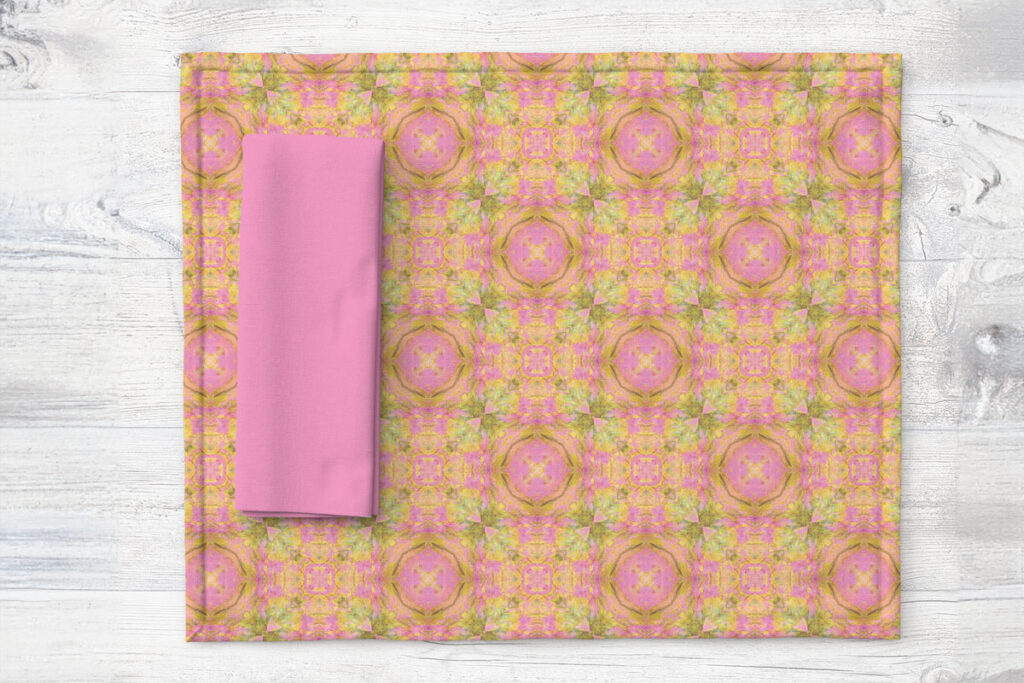
While I did not ultimately pursue the use of patterns for “My Terra,” I made this decision as I felt the images within the “My Rock Collection” were already edited to my desired aesthetics. Patterns, in this specific context, seemed to detract from the visual impact I aimed for. Nevertheless, I remain open to revisiting pattern creation in the future, understanding that there may be opportunities where this creative element enhances my projects. I also have a large collection now of patterns that I may need to do something with in the future, maybe another collection within the “My Terra” range. Images below – a possible future collection for the “My Terra” range of patterns.